> ## Documentation Index
> Fetch the complete documentation index at: https://launchdarkly.com/docs/llms.txt
> Use this file to discover all available pages before exploring further.
# LaunchDarkly CLI dev-server reference guide
This guide describes all the functionality of the LaunchDarkly CLI dev-server. If you’re just getting started, you should read [the guide to using the dev-server for local testing](/docs/guides/flags/ldcli-dev-server) first.
LaunchDarkly provides a command line interface (CLI), which includes a `dev-server` command that you can use to start a local server and retrieve flag values from a LaunchDarkly source environment. This development server supports a single variation value for each flag, which you can override as needed. These flags and overrides are persisted in a SQLite [database](#database) so that you can enjoy a local-only development experience after the initial sync of flags from the source environment. The dev-server supports low latency updates through streaming APIs just like the LaunchDarkly service, so you’ll be able to see flag changes in your application immediately.
## When to use the dev-server
The dev-server is designed for local development, CI, and preview environments. Do not use it in production. If you want to use flags in unit tests, you should consider [test data sources](/docs/sdk/features/test-data-sources). If you need to set flags for a single server-side application, a simpler option is [reading flags from files](/docs/sdk/features/flags-from-files).
**Server interfaces**
The server has three interfaces: an [HTTP+JSON API](https://github.com/launchdarkly/ldcli/blob/main/internal/dev_server/api/api.yaml), CLI commands, and a UI. Examples of each of these interfaces are included when the functionality is supported by multiple interfaces.
## Prerequisites
If you’re just getting started with the dev-server, read [the prerequisites section of the guide to using the dev-server for local testing](/docs/guides/flags/ldcli-dev-server#prerequisites) to learn how to install and authenticate with the dev-server.
## Start the server
You can only start the server by using the CLI. To start the dev-server, run the following command:
```bash title="Start the dev-server" lines wrap theme={null}
ldcli dev-server start
```
This starts the server. When the server starts, it creates the necessary databases and logs the locations. The database file locations are set based on the [XDG state home](https://specifications.freedesktop.org/basedir-spec/latest/). If you need to customize this location, you can set the `XDG_STATE_HOME` environment variable. If this is your first time starting the server, you must [add a project](#add-project) before you can use the dev-server to serve flags to your application.
### Start and sync
You can programmatically sync flags from an environment before the dev-server starts. This can benefit workflows like continuous integration (CI) or ephemeral environments.
Here's how to specify the source environment and project to sync while starting the dev-server:
```bash title="Start the dev-server" lines wrap theme={null}
ldcli dev-server start --project --source
```
The dev-server will retrieve flag values from your project and environment before accepting connections.
You can also specify:
* The context to evaluate
* Local overrides
Here's how you can specify the context and overrides on the command line:
```bash title="Start the dev-server with a context and local overrides, specified inline" lines wrap theme={null}
ldcli dev-server start --source staging --project default --context '{ "kind": "user", "key": "local-testing-key", "email": "ld-dev-server@launchdarkly.com"}' --override '{ "my-first-flag": true}'
```
If you're using this in combination with some kind of persistent storage, you might not want to have the sync recur each time the server restarts. You can achieve this by setting the `--sync-once` option. When you set that, the sync will be skipped if a database file is already present.
You can view an example of using the dev-server with docker-compose at the LaunchDarkly Labs [dev-server-docker-compose GitHub repo](https://github.com/launchdarkly-labs/dev-server-docker-compose).
## Project management
The dev-server creates an isolated, local environment for each of the LaunchDarkly projects that have been created within it. When projects are created in the dev-server, flags are “synced” to the dev-server from the source environment. The sync is performed by evaluating each flag from the source environment with a context. The resulting value is stored in the dev-server’s database.
### Add project
Adding a project will create the project in the dev-server and sync all flags from the source environment by evaluating each flag with an optionally provided context.
```bash title="CLI" lines wrap theme={null}
ldcli dev-server add-project --project --source --context
```
```bash title="API" lines wrap theme={null}
curl localhost:8765/dev/projects/my-project \
-H 'Content-Type:application/json' \
-d '{
"sourceEnvironmentKey": "staging",
"context": { "kind": "user", "key": "test" }
}'
```
### Delete project
If you no longer need a project, you can remove it from the dev-server. Here's how:
```bash title="CLI" lines wrap theme={null}
ldcli dev-server remove-project --project
```
```bash title="API" lines wrap theme={null}
curl localhost:8765/dev/projects/test \
-X 'DELETE'
```
### Update project
If you want to use flag values from a different environment or context, you can update your project accordingly. For example, this is useful if you want to configure your flags to be exactly like what a customer saw in your production environment.
Here's how:
```bash lines wrap theme={null}
ldcli dev-server update-project --project --source --context
```
```bash lines wrap theme={null}
curl localhost:8765/dev/projects/test \
-X 'PATCH' \
-H 'Content-Type: application/json' \
-d '{
"sourceEnvironmentKey": "staging",
"context": {"kind": "user", "key": "test"}
}'
```
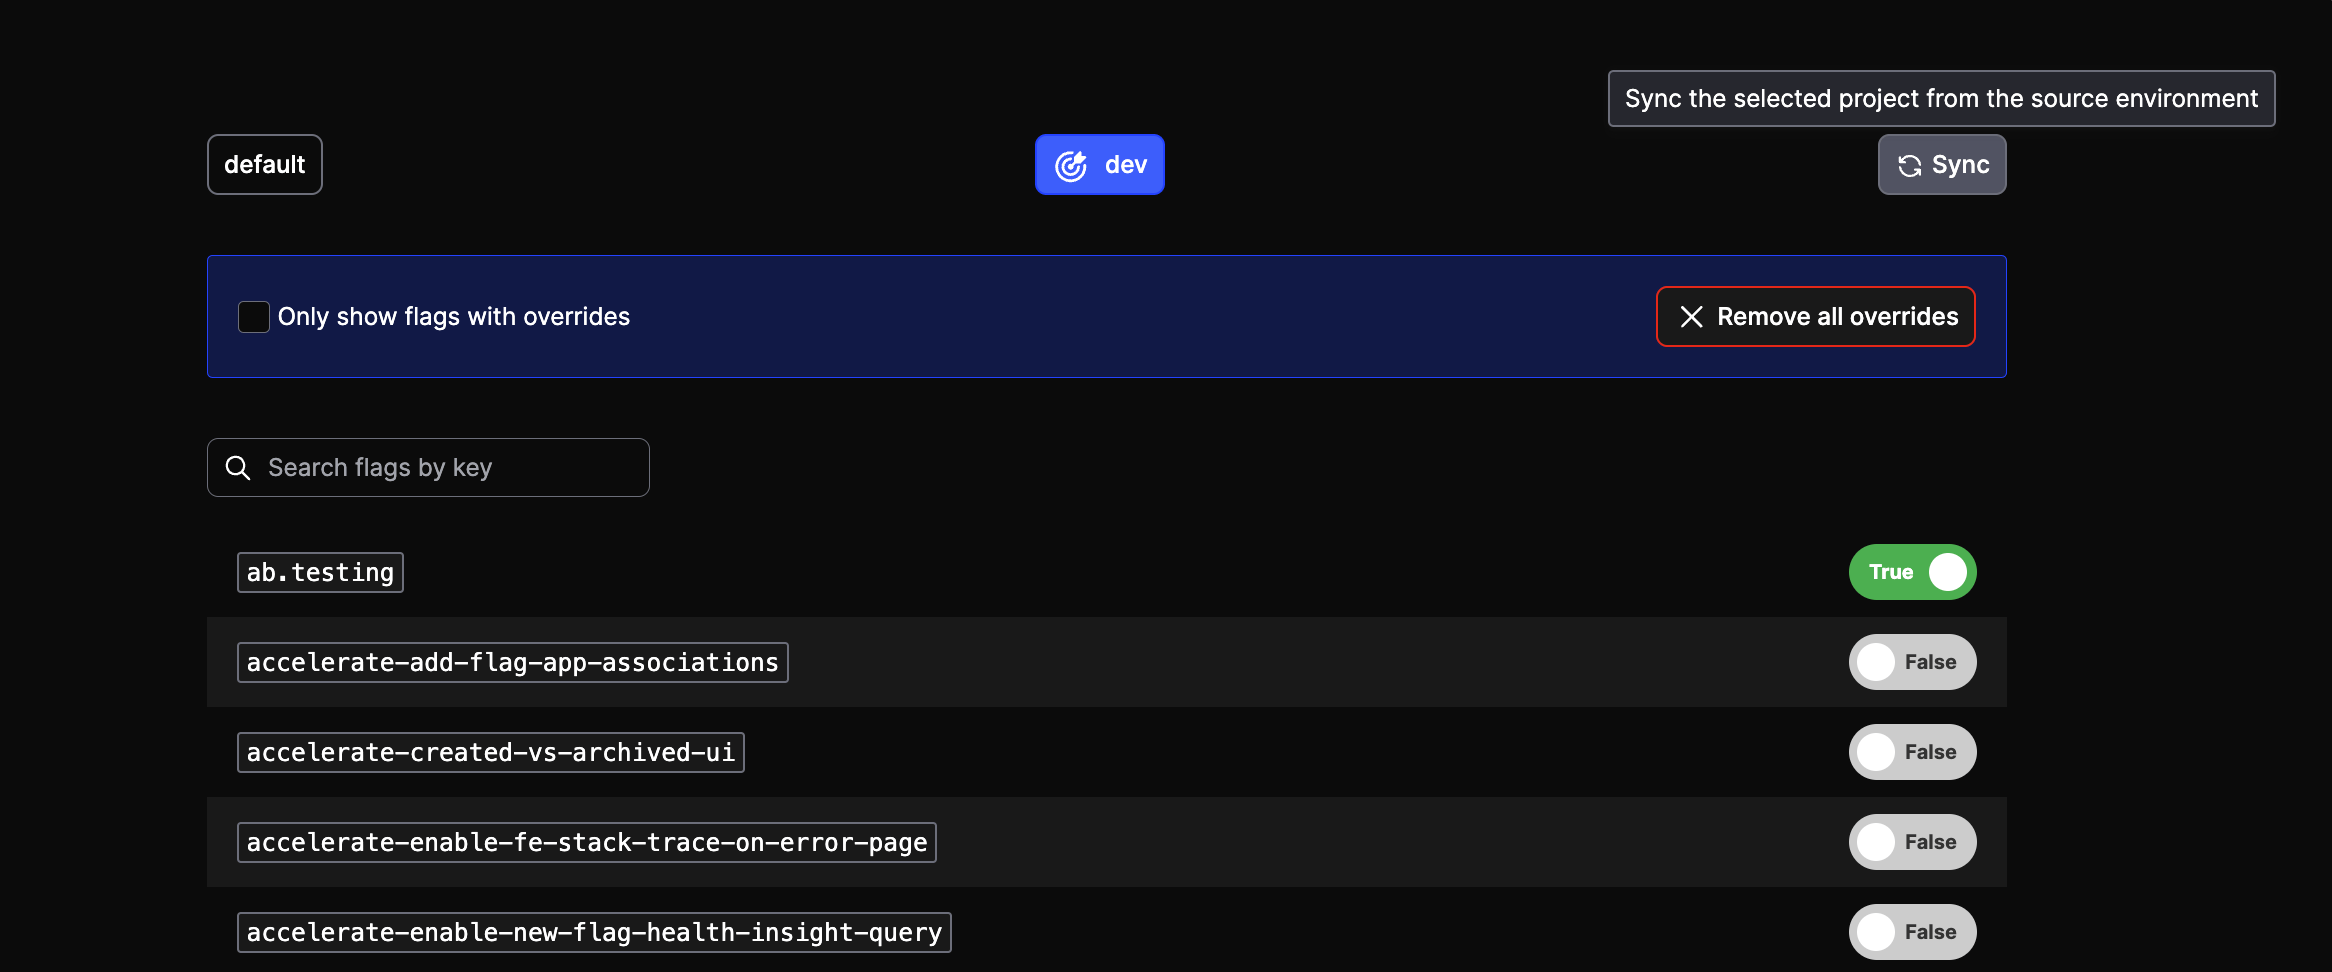
When you click the environment button in the center of the header, you're presented with a modal to update the project. You can pick the source environment from a list. You can also edit the context used to evaluate flags from the source environment as a JSON document. When you select **Confirm**, the changes are saved and flags are synced from the selected source environment.
### Sync project
You can resync flags from your source environment at any time. You’ll probably want to do this whenever you pull from your application’s code repository so that you have all the flags you need to run your application as your colleagues add flags. Syncing flags will use the previously configured source environment and context to evaluate each flag in the source environment for the context.
```bash lines wrap theme={null}
ldcli dev-server sync-project --project
```
```bash lines wrap theme={null}
curl localhost:8765/dev/projects/test -X 'PATCH' \
-H 'Content-Type: application/json' \
-d '{}'
```
## Flag evaluation
The dev-server exposes APIs compatible with all supported LaunchDarkly SDKs on port `8765`. These APIs enable connected SDKs to evaluate flags as if they were connected to the LaunchDarkly service. The dev-server does not support [targeting](/docs/home/flags/target) and always returns the same value for a flag. This value is fetched from the [source environment](#sync-project), and it can be *overridden*.
Flag overrides are a dev-server concept. They force the value of a flag in your dev-server instance to be a particular value. The overrides can be based on variations that exist in the LaunchDarkly service or they can be “local overrides.” Local overrides are variation values that only exist in your dev-server.
### Add flag override
When you create a flag override, the value will be returned instead of what has been synced from the source environment. Overrides persist between syncs.
To create an override:
```bash lines wrap theme={null}
ldcli dev-server add-override --project --flag --data
```
```bash lines wrap theme={null}
curl localhost:8765/dev/projects/test/overrides/mike-test \
-X PUT \
-d '"test-string-value"'
```
This sets the multivariate flag, `mike-test` to have the string value, `test-string-value`.
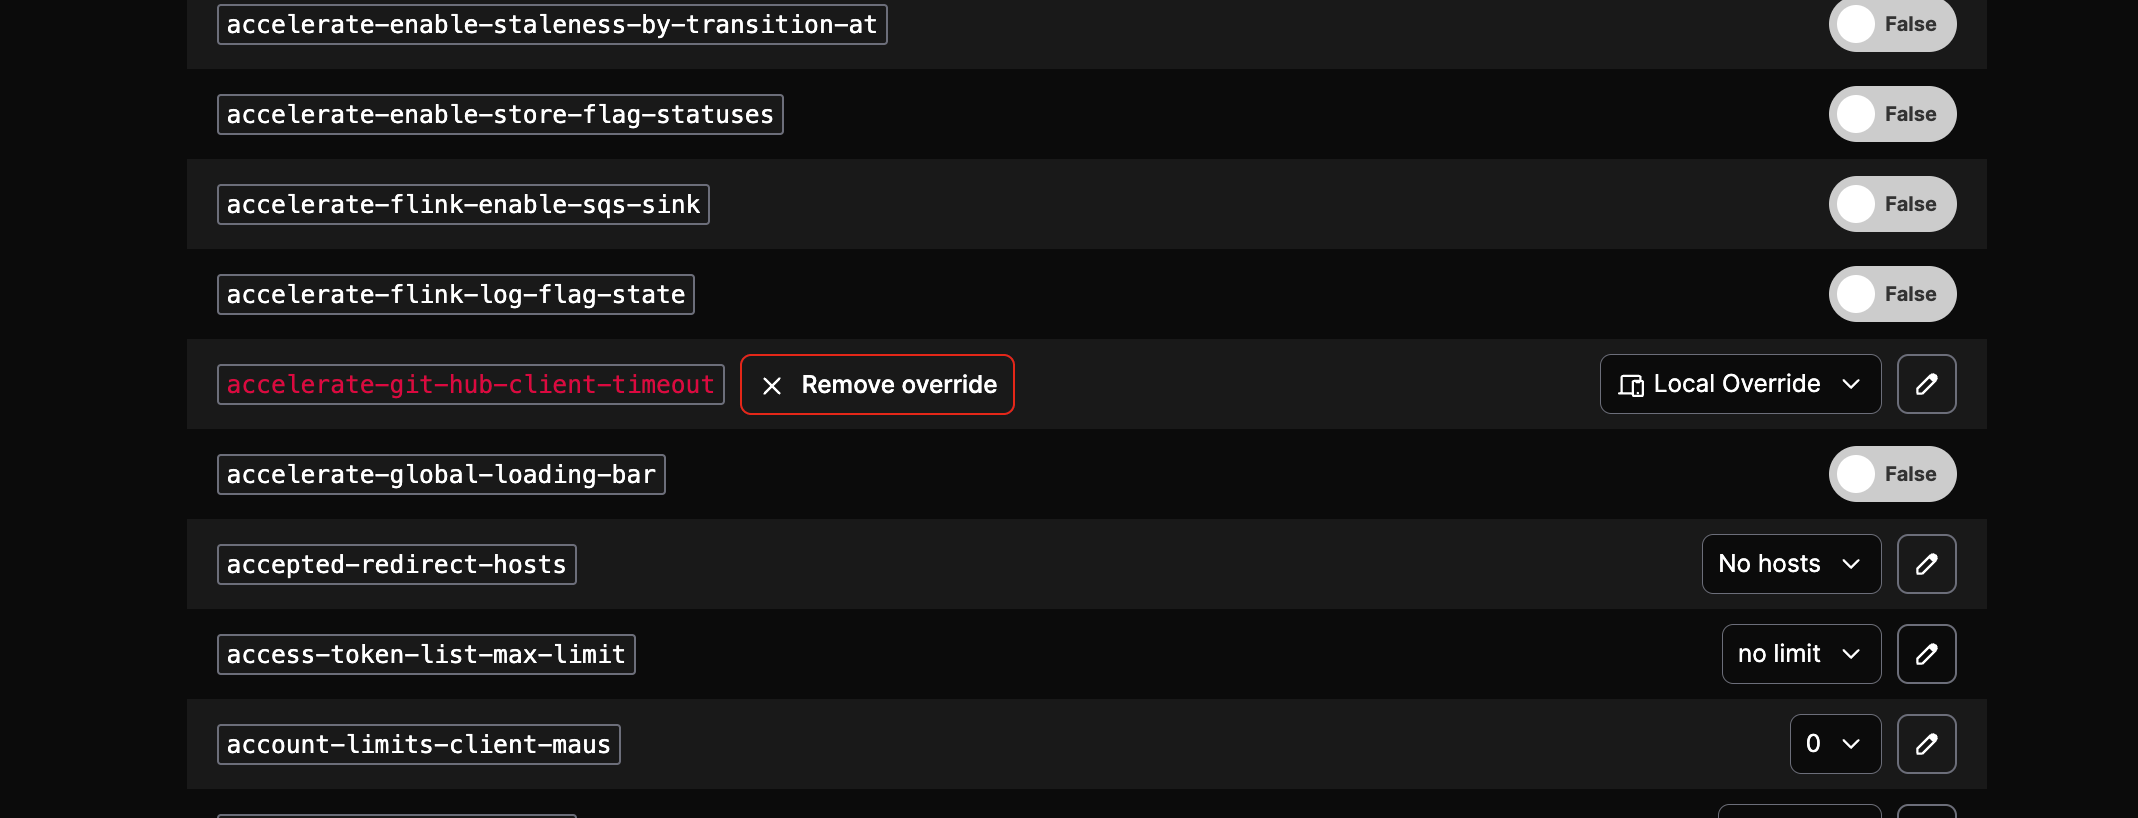
You can override a flag from the UI by picking a variation from the list. You can also create a local override by clicking the edit button and editing the value as a JSON document in the modal that pops open.
### Remove flag override
When you remove a flag override, the flag will revert back to the value that was synced from the source environment.
To remove an override:
```bash lines wrap theme={null}
ldcli dev-server remove-override --project --flag
```
```bash lines wrap theme={null}
curl localhost:8765/dev/projects/test/overrides/mike-test \
-X DELETE
```
## SDK events and debug sessions
The dev-server UI includes an events page that allows you to view SDK events in real time. When you navigate to the events page, the dev-server creates a new debug session and begins ingesting SDK events from connected SDKs. These events are displayed in real time and stored in the debug session for later review.
### View events in real time
To view SDK events in real time, navigate to the events page at [http://localhost:8765/ui/events](http://localhost:8765/ui/events). LaunchDarkly automatically creates a new debug session when you view the events page.
SDK events from connected SDKs are streamed and displayed in real time. The events page shows all SDK events, including flag evaluations, custom events, and other event types sent by your connected SDKs.
**Event types**
[Feature events](/docs/integrations/data-export/schema-reference#feature-events) are only emitted for overridden flags in the dev-server.
### Manage debug sessions
Debug sessions store collections of SDK events for later review. You can view and manage debug sessions from the debug sessions page in the dev-server UI.
To view all debug sessions:
1. Navigate to the debug sessions page at [http://localhost:8765/ui/debug-sessions](http://localhost:8765/ui/debug-sessions). A list of of all debug sessions appears, including active and past sessions.
2. Click on a debug session to view its stored events.
To delete a debug session:
1. Navigate to the debug sessions page at [http://localhost:8765/ui/debug-sessions](http://localhost:8765/ui/debug-sessions).
2. Click **Delete** for the session you want to remove.
### Search events in debug sessions
When viewing a past debug session, you can search for specific events:
1. Navigate to the Debug Sessions page at [http://localhost:8765/ui/debug-sessions](http://localhost:8765/ui/debug-sessions).
2. Click on a debug session to view its events.
3. Use the search functionality to filter events by type, flag key, or other criteria.
This allows you to quickly find specific events within a debug session for analysis and debugging.
## Database
The dev-server uses two SQLite databases to persist its state:
* **`dev_server.db`**: Stores flag and override state for each project
* **`dev_server_events.db`**: Stores debug sessions and their associated SDK events, enabling you to review events from past debug sessions even after the dev-server restarts
Both database files are located in the same directory, based on the [XDG state home](https://specifications.freedesktop.org/basedir-spec/latest/) specification. By default, this is `$XDG_STATE_HOME/ldcli/`. You can interact directly with these databases to enable some advanced use cases.
Examples of this include:
* Long-lived preview environments that need to persist their flag configuration
* Parallel black-box tests, such as Playwright, where each parallel system under test is connected to its own dev-server
### Back up and restore
In a few cases, such as isolation testing or long-lived preview environments, you may want to back up and restore this state. The backup API creates a backup file that includes only `dev_server.db`, preserving flag and override state. The `dev_server_events.db` database containing debug sessions and SDK events is not included in the backup.
The dev-server includes an API that you may use to do this:
```bash title="Back up and restore" lines wrap theme={null}
curl --output backup.db localhost:8765/dev/backup
curl --data-binary @backup.db http://localhost:8765/dev/backup
```
You can also copy the database file when the server is not running, as the database file location is logged in the server logs. The API allows you to safely backup and restore while the server is running. When you restore a backup, only `dev_server.db` is restored, including flag and override state. Debug sessions and events stored in `dev_server_events.db` are not restored.
### Override database path
If you need to run multiple instances of the dev-server with different configurations for the same project, like you would for parallel tests, you can override the database path and provide each instance of the dev-server with its own isolated databases. Each instance maintains its own flag and override state in `dev_server.db`, as well as its own set of debug sessions and events in `dev_server_events.db`. Both database files are located at `$XDG_STATE_HOME/ldcli/`.
You can alter the path by setting the `$XDG_STATE_HOME` environment variable, as in the following example:
```bash title="Set the XDG_STATE_HOME environment variable" lines wrap theme={null}
XDG_STATE_HOME=. ldcli dev-server start
```
This uses the database files located at `./ldcli/dev_server.db` and `./ldcli/dev_server_events.db`.
## Dark mode
The dev-server UI supports a dark and light color scheme. It chooses the color scheme based on the color scheme preference indicated in your operating system.
 When you click the environment button in the center of the header, you're presented with a modal to update the project. You can pick the source environment from a list. You can also edit the context used to evaluate flags from the source environment as a JSON document. When you select **Confirm**, the changes are saved and flags are synced from the selected source environment.
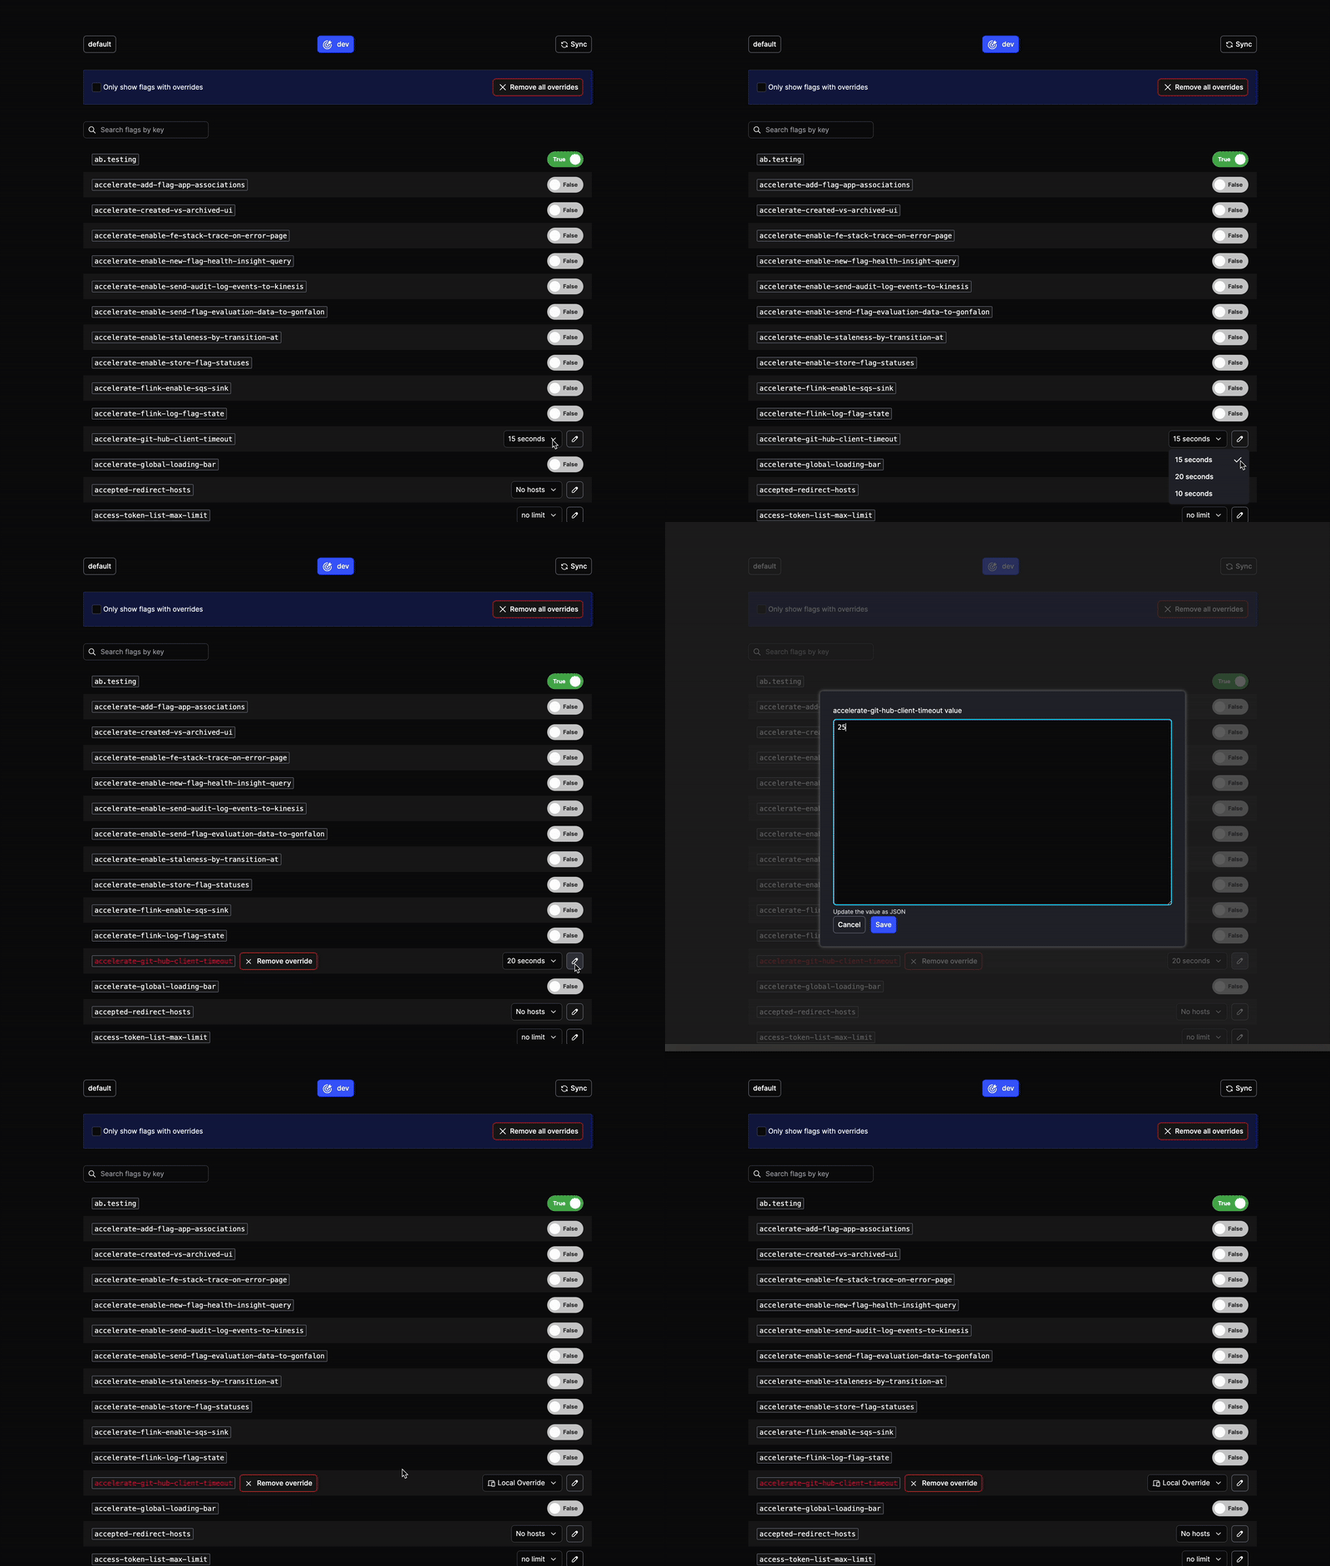 You can override a flag from the UI by picking a variation from the list. You can also create a local override by clicking the edit button and editing the value as a JSON document in the modal that pops open.