Onboarding to views
This topic explains how to start using views. Views let you logically group flags, AgentControl configs, and segments within a project. You can also control access to these resources using views.
For example, you can use views to group flags according to the teams in your organization and the features they work on. A flag can be linked to more than one view.
Benefits of using views
The benefits of using views include:
- Consistency and security: Views allow you to organize and control access to sets of resources within a single project.
- Reduced complexity: When you restrict access to sets of resources, members of your organization can focus on just the items they work with. You can have multiple views per project, which means you can give multiple sets of developers access to some of the same resources if needed.
- Improved scalability: Many organizations depend on the benefits of having all of their flags in a single project. For instance, using flag prerequisites requires all flags in a dependency chain to be in the same project. Using views means you can continue to use a single project, while limiting access to flags and related resources within that project.
Prerequisites
Members with an Admin, Owner, or Writer base role automatically have access to creating and managing views. After you create the views you want in each project, you can create roles that assign access within the project based on each view.
Create views
We recommend having one member, such as an architect or tech lead, create views for a given project.
To create a new view and link resources to it:
-
Click the project dropdown. The project menu appears.
-
Select Project settings.
-
Select Views. The Views list appears:
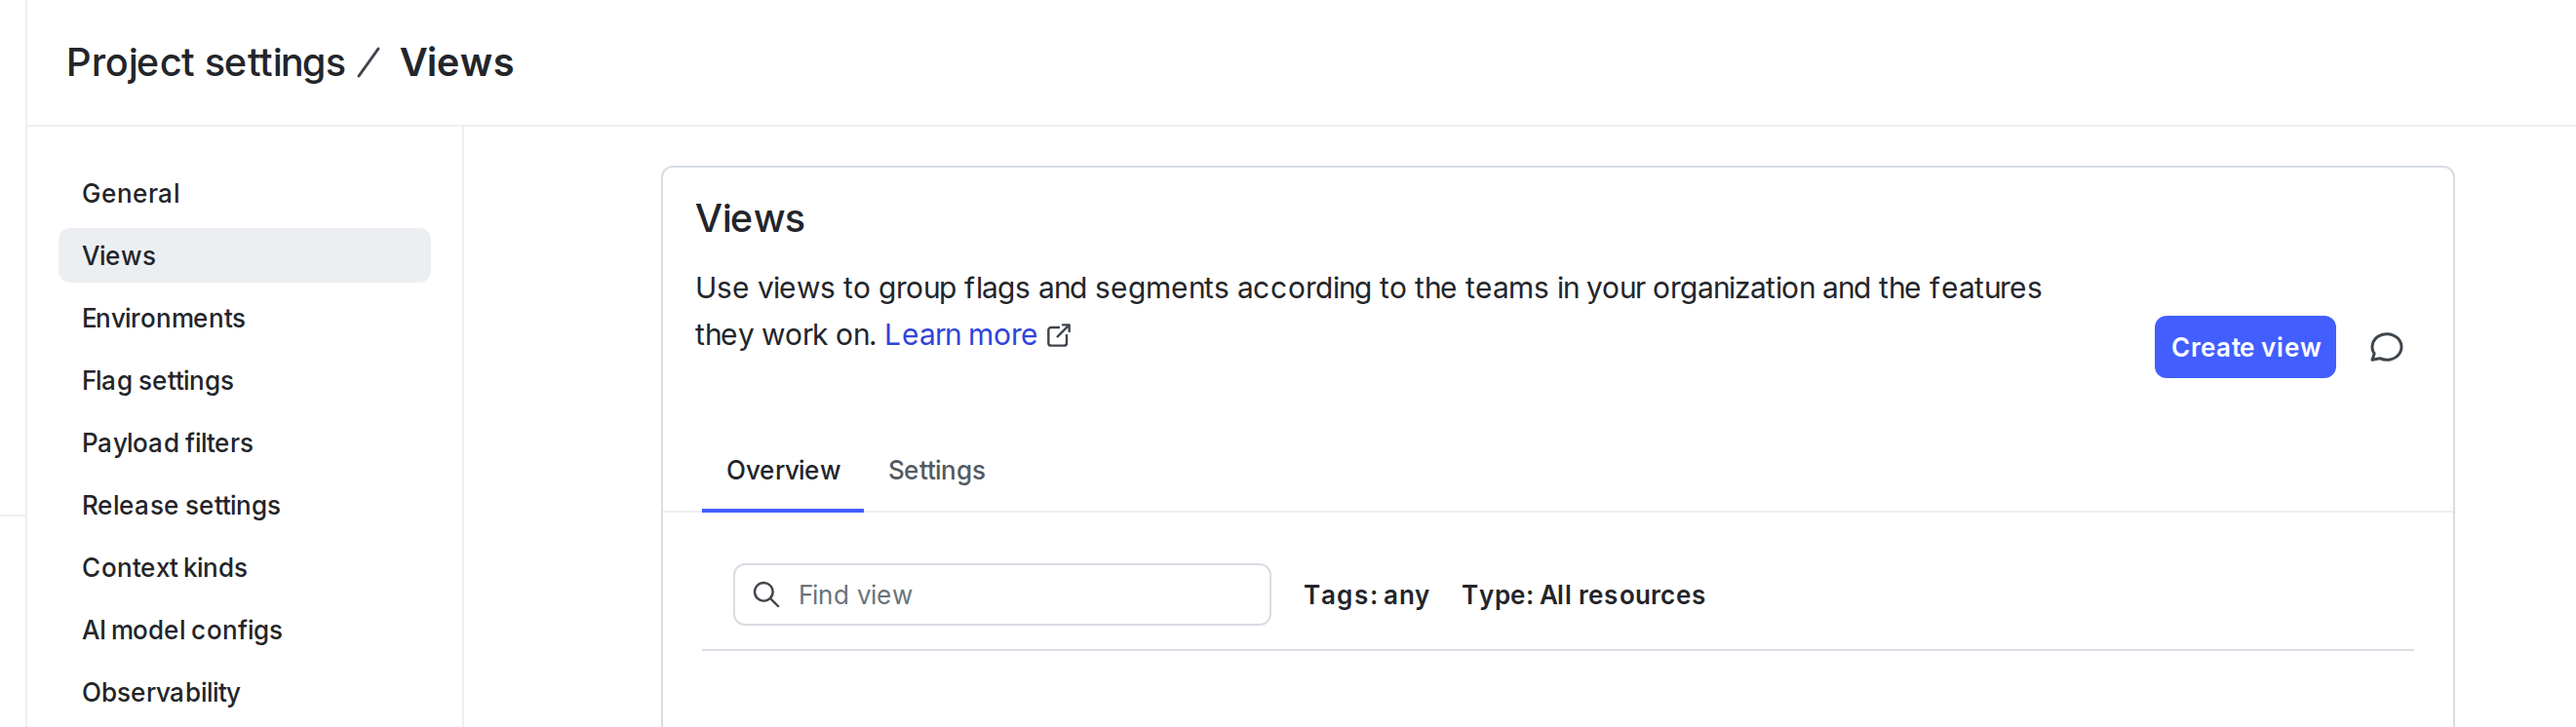
The Views list in project settings. -
Click Create view. The “Create view” dialog appears:
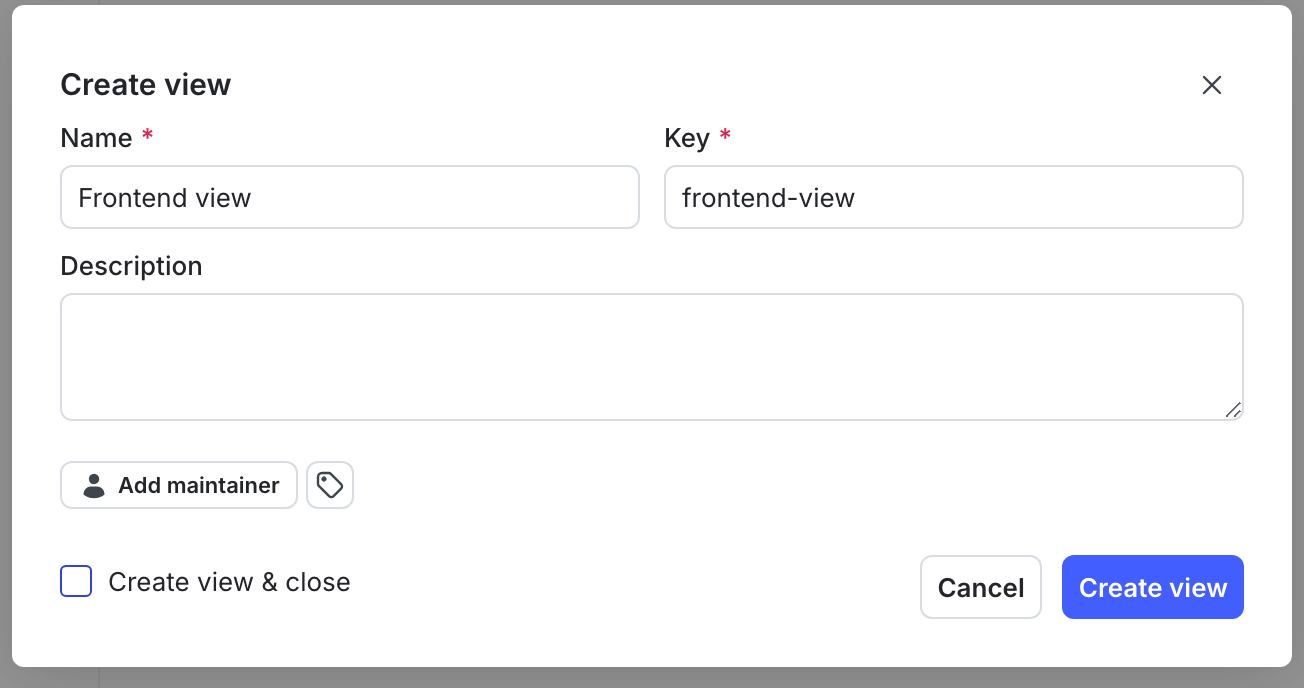
The "Create view" dialog. -
Enter a unique, human-readable Name for the view.
-
(Optional) Update the view Key. A suggested key auto-populates from the name you enter, but you can customize it if you wish.
-
(Optional) Enter a Description.
-
(Optional) Click the tag icon. Enter a tag name to search for an existing tag or create a new one with that name.
-
(Optional) Click Add maintainer to set the maintainer of the view. The maintainer defaults to the view’s creator if you do not set one.
-
Click Create view. The “Add flags to [view]” dialog appears.
-
Check the flags that you want to include in the view. You can add any AgentControl configs or segments after you finish creating the view.
-
Click Add flags.
You can also create a view and then link flags, AgentControl configs, and segments later. To create a view without linking any resources, follow steps 1-9 in the procedure above, check the Create view & close checkbox, and then click Create view.
Assign access based on views
We recommend assigning most members, such as software engineers and product managers, access to the flags and segments they need based on the view that those items are linked to.
For example, to assign access to flags in a particular view, create a role with access to all actions on flags in that view and project.
Here’s how:
For additional examples, read Use views in complex policy statements.
If you use views to restrict access to sets of flags, AgentControl configs, and segments, it may be helpful to require that they are associated with a view.
You can require that new resources are linked to a view from Project settings. To learn how, read Require resources to be linked to a view.
An alternative way to enforce this is to create a role that allows the createFlag action only within a particular view.
Here’s an example:
Flag creation and multiple views
When a member creates a feature flag or AgentControl config, they can associate it with multiple views in a single request. For example, a createFlag statement scoped to one view does not prevent a member from listing additional views in the same API call. This means that a member may be able to add a flag to a view that they do not have access to, as long as they are also adding it to a view they do have permission to add flags to. Access to the flag after it exists is still governed by your other policy statements.
Use views from the list pages
From the Flags, Configs, and Segments lists in the LaunchDarkly UI, you can use the View menu to show only those items that are linked to selected views:

Manage views with Terraform
You can use the LaunchDarkly Terraform provider to manage your views using Terraform. To learn more, read the provider documentation on the Terraform Registry.
The provider includes the following views-related capabilities:
- Link flags and segments to views: Use the
view_keysattribute onlaunchdarkly_feature_flagandlaunchdarkly_segmentresources to specify which views a flag, AgentControl config, or segment should be linked to. - Require view association: Use the
require_view_association_for_new_flagsandrequire_view_association_for_new_segmentsattributes onlaunchdarkly_projectto require that new flags, AgentControl configs, or segments are associated with at least one view. - Bulk link resources to views: Use the
launchdarkly_view_linksresource to link multiple flags, AgentControl configs, or segments to a view in a single resource block.
Here is an example of a project that requires flags and segments to be linked to a view:
Here is an example of a flag linked to a view:
Next steps
For additional information on managing views, read Views. To learn more about creating roles, read Creating roles and policies.