

Data Export is an add-on featureData Export is available as an add-on feature to select plans. To learn more, read about our pricing. To add Data Export to your plan, contact Sales.
Prerequisites
To configure the Snowflake Data Export integration, you must have the following prerequisites:- You must have the
ACCOUNTADMINuser role in Snowflake - You must have a LaunchDarkly role that allows you to add and edit integrations and add destinations
- You need to allow LaunchDarkly’s data transfer service’s static IP address:
35.192.85.117
- You must know your Snowflake account URL. You can retrieve your Snowflake account/server URL by navigating to the user menu in Snowflake, hovering on Account, then clicking View account details:
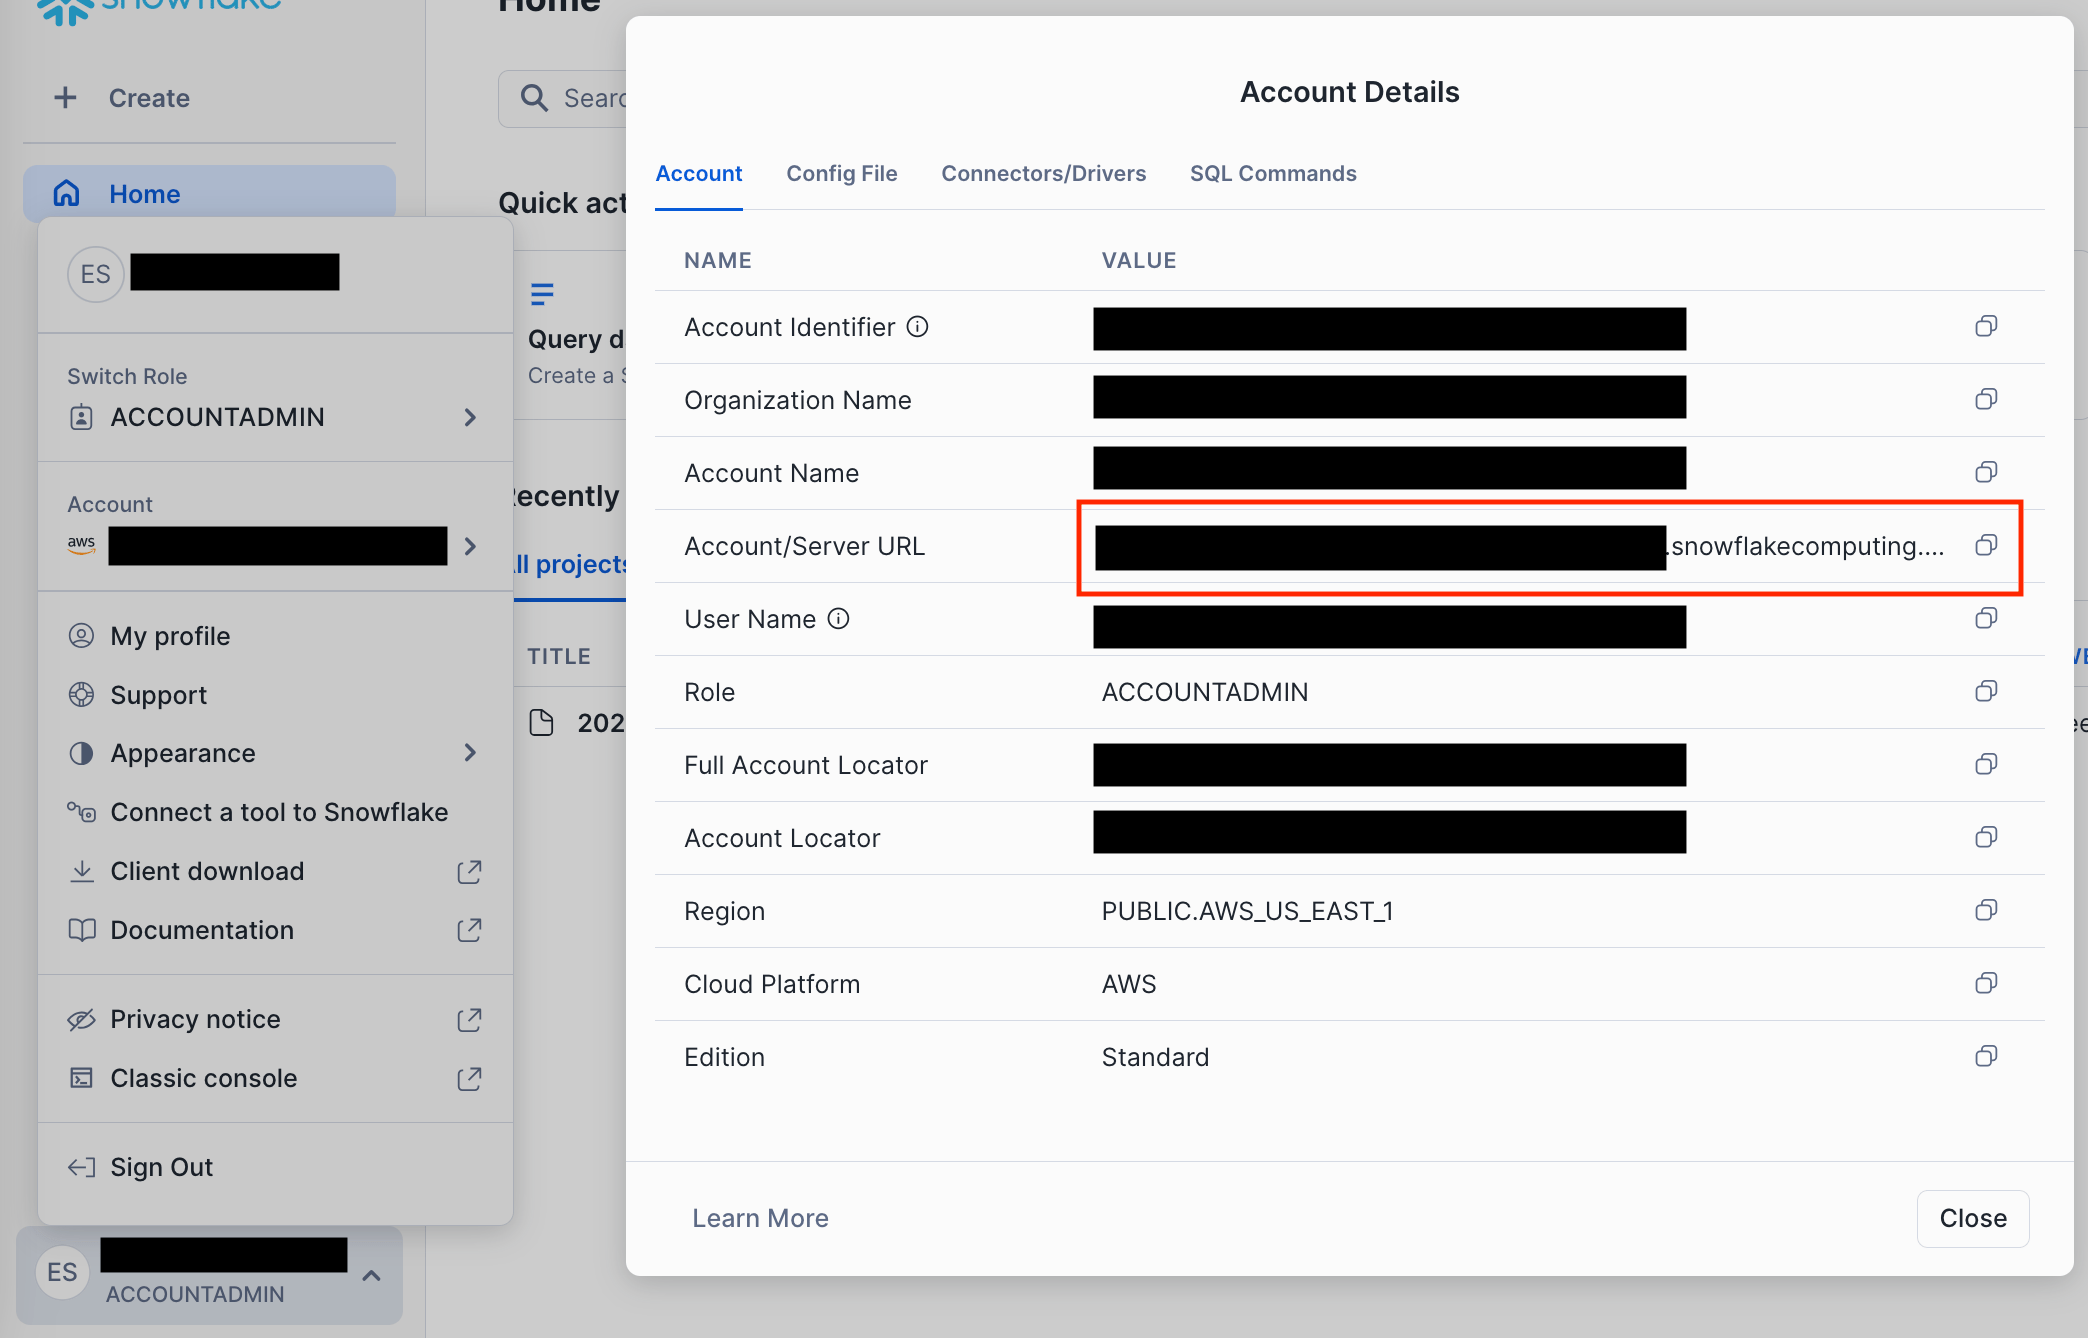
The "Copy account URL" option in Snowflake.
- If you use network policies within your Snowflake account, you must allow traffic from LaunchDarkly. The setup script you generate in the next section creates the required network rule and policy for you when you turn on the Allowlist LaunchDarkly’s IP option.
One Data Export destination per environmentYou can configure only one Data Export destination per LaunchDarkly environment, regardless of destination kind. If you need more than one Data Export destination for the same data, configure them in different environments.
Connect your LaunchDarkly environment to Snowflake
The Snowflake Data Export setup uses a two-step flow. First, you generate a setup script in LaunchDarkly. Then, you run the script in Snowflake and return to LaunchDarkly to test the connection and save your destination. We recommend having two browser windows or tabs open to switch between LaunchDarkly and Snowflake. When you set up the integration, LaunchDarkly generates a SQL script that creates these Snowflake objects in your account. You can use the default names or customize them in step 6 of the following procedure. To connect your LaunchDarkly environment to Snowflake:- In LaunchDarkly, click the gear icon in the left sidebar to view Organization settings.
- Click Integrations and find “Snowflake Data Export.”
- Click Add integration. The Snowflake Data Export configuration page appears.
- Choose a Project and environment to export data from. Environments that already have a Snowflake Data Export destination are unavailable.
- Enter your Snowflake account URL.
- (Optional) Customize any of the Snowflake object names listed below. If you leave a field blank, LaunchDarkly uses the default value. Each name can contain letters, digits, underscores, and
$. Names must start with a letter or underscore, must be capitalized, and can be up to 255 characters.- Warehouse name: defaults to
LD_EXPORT_WH. Shared across all environments. - Database name: defaults to
LD_EXPORT. Shared across all environments. - Role name: defaults to
LD_EXPORT_ROLE. Shared across all environments. - Schema name: defaults to
EXPORT_<projKey>__<envKey>, where<projKey>is your project key and<envKey>is your environment key. Unique to a project and environment. - User name: defaults to
LD_EXPORT_USER_<projKey>__<envKey>. Unique to a project and environment.
- Warehouse name: defaults to
- (Optional) If your Snowflake account uses network policies, turn on Allowlist LaunchDarkly’s IP (35.192.85.117). The generated script then creates the required Snowflake network rule and policy.
- Click Generate SQL. LaunchDarkly returns a setup script that creates the warehouse, database, role, schema, and user with the names you chose.
- Copy the generated script and, in Snowflake, paste it into a worksheet.
- In Snowflake, run the worksheet. This creates the necessary Snowflake resources.
- After reading the Integration Terms and Conditions, select the I have read and agree to the Integration Terms and Conditions checkbox.
- In LaunchDarkly, click Test connection and save. LaunchDarkly tests the Snowflake connection and, if it succeeds, creates and activates the destination.
Editing an existing destination
To edit a Snowflake Data Export destination after it is set up:- In LaunchDarkly, click the gear icon in the left sidebar to view Organization settings.
- Click Integrations and find “Snowflake Data Export.”
- Find the destination you want to edit and click Edit. The Snowflake Data Export configuration page appears with the destination’s current settings.
- Update the fields you want to change.
- Click Save configuration.