

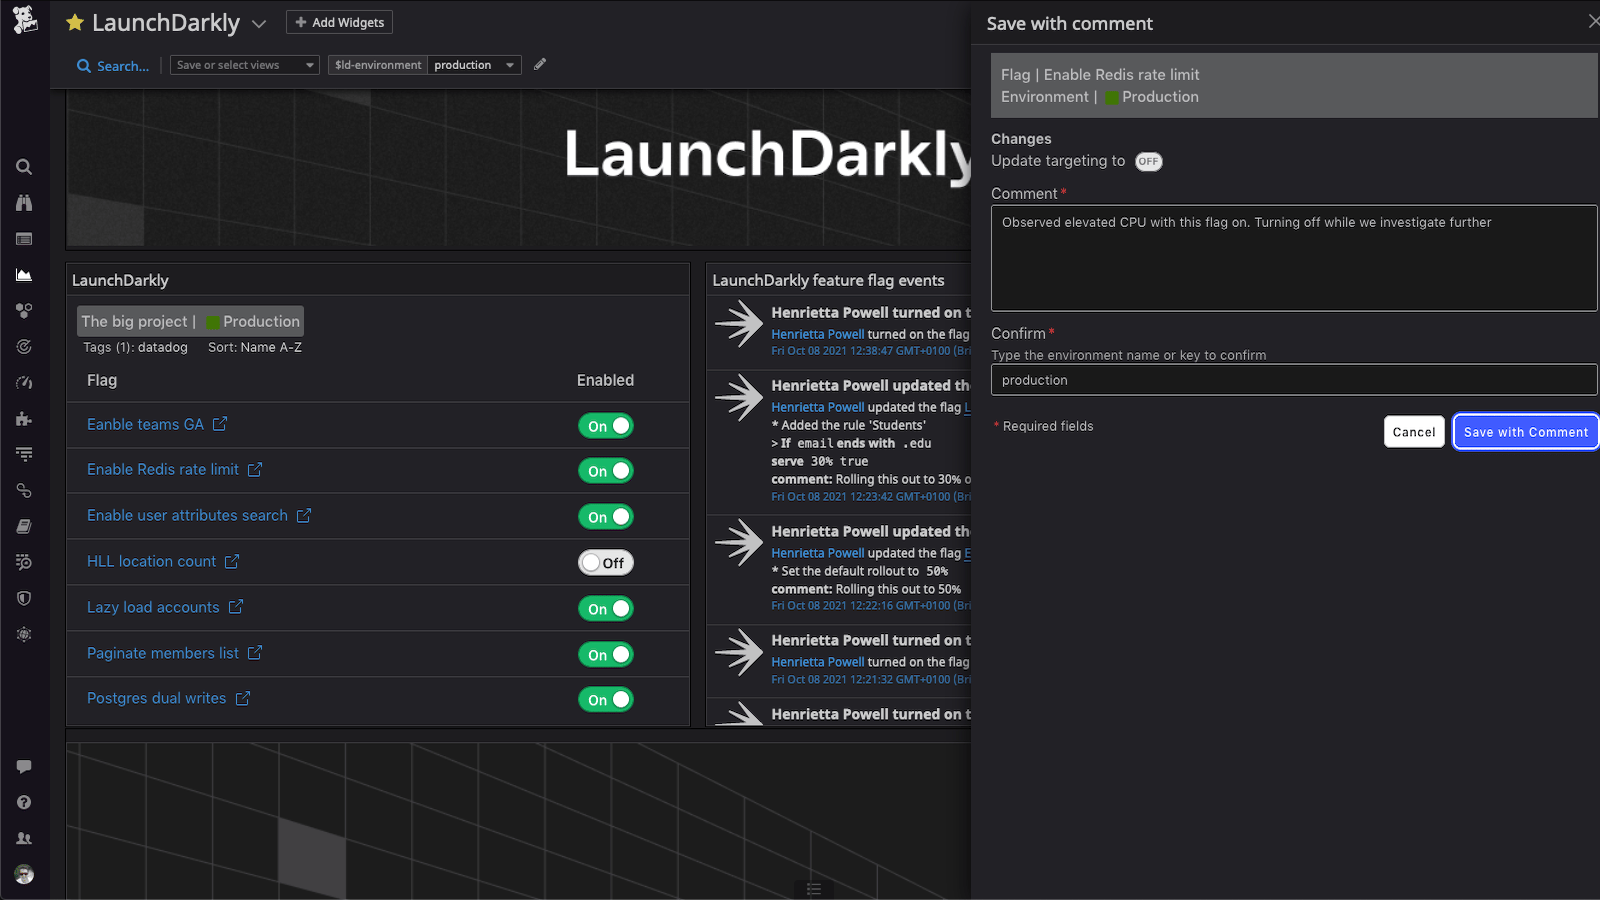
The "Save with comment" dialog for making flag changes within the Datadog dashboard widget.
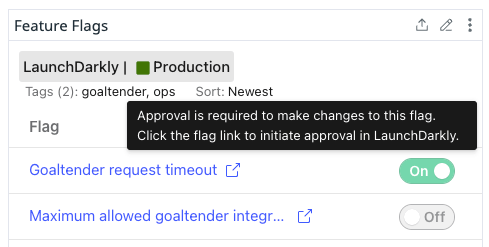
Disabled toggles in the Datadog widget.
Install the Datadog widget
To install the Datadog widget:- In Datadog, navigate to the Integrations page.
- Search for LaunchDarkly or go directly to the LaunchDarkly listing.
- Click Install.
Add the widget to a dashboard
To add the widget to your dashboard:- In Datadog, navigate to an existing dashboard or create a new one.
- Click Add Widgets. The widget drawer appears.
- Search for LaunchDarkly.
- Click or drag the LaunchDarkly widget icon to your dashboard. The LaunchDarkly editor dialog appears.
- Click Connect. A new window appears prompting you to authorize Datadog.
- Click Authorize. You are returned to Datadog.
-
Configure the following widget options in the LaunchDarkly editor:
- LaunchDarkly project: The name of the LaunchDarkly project you wish to associate with the dashboard widget.
- LaunchDarkly environment: The name of the LaunchDarkly environment you wish to associate with the dashboard widget.
- Environment template variable (optional): A Datadog template variable that overrides the LaunchDarkly environment option.
- LaunchDarkly tag filter: An optional
+separated list of tags used to filter the feature flags displayed in the widget. If multiple tags are included, only flags that match all included tags will appear. If omitted, all of the project’s feature flags will appear. - Sort: The order the flags are displayed in the widget. Defaults to Newest.
- (Optional) Enter a widget a title.
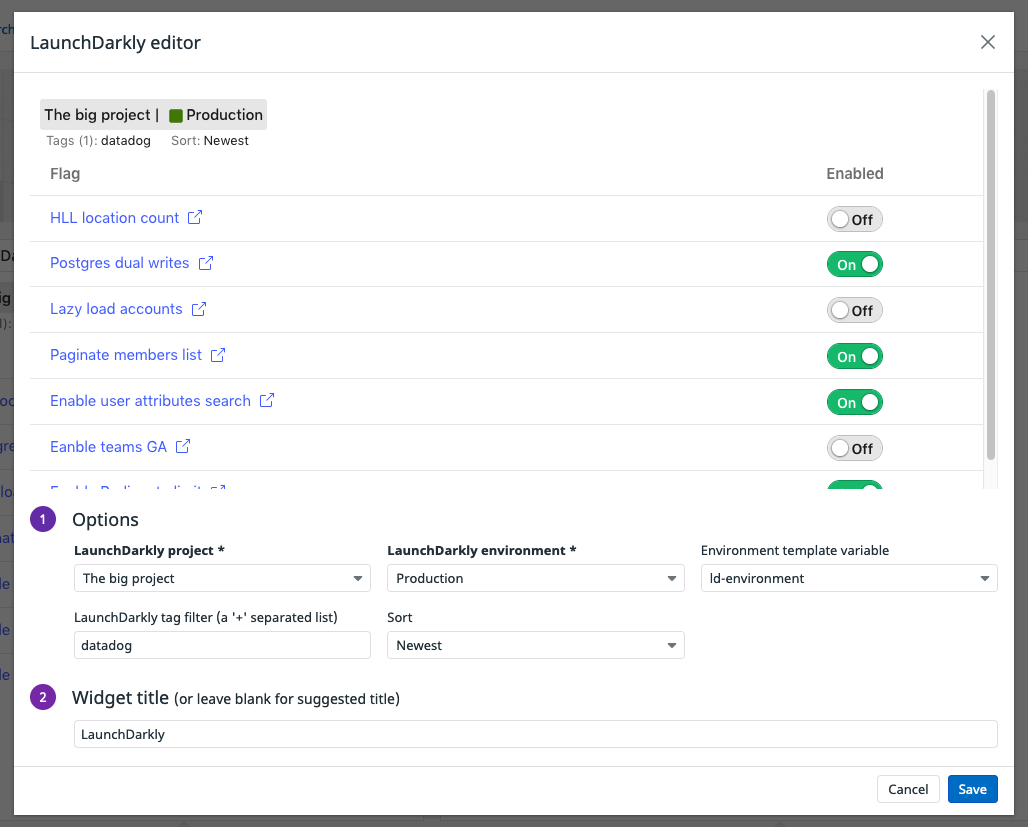
The LaunchDarkly editor configuration page in Datadog, configured with sample settings.
- Click Save.