Projects
This topic explains what projects are in LaunchDarkly, and how you can use them to manage different priorities, teams, and tasks across your organization.
About projects
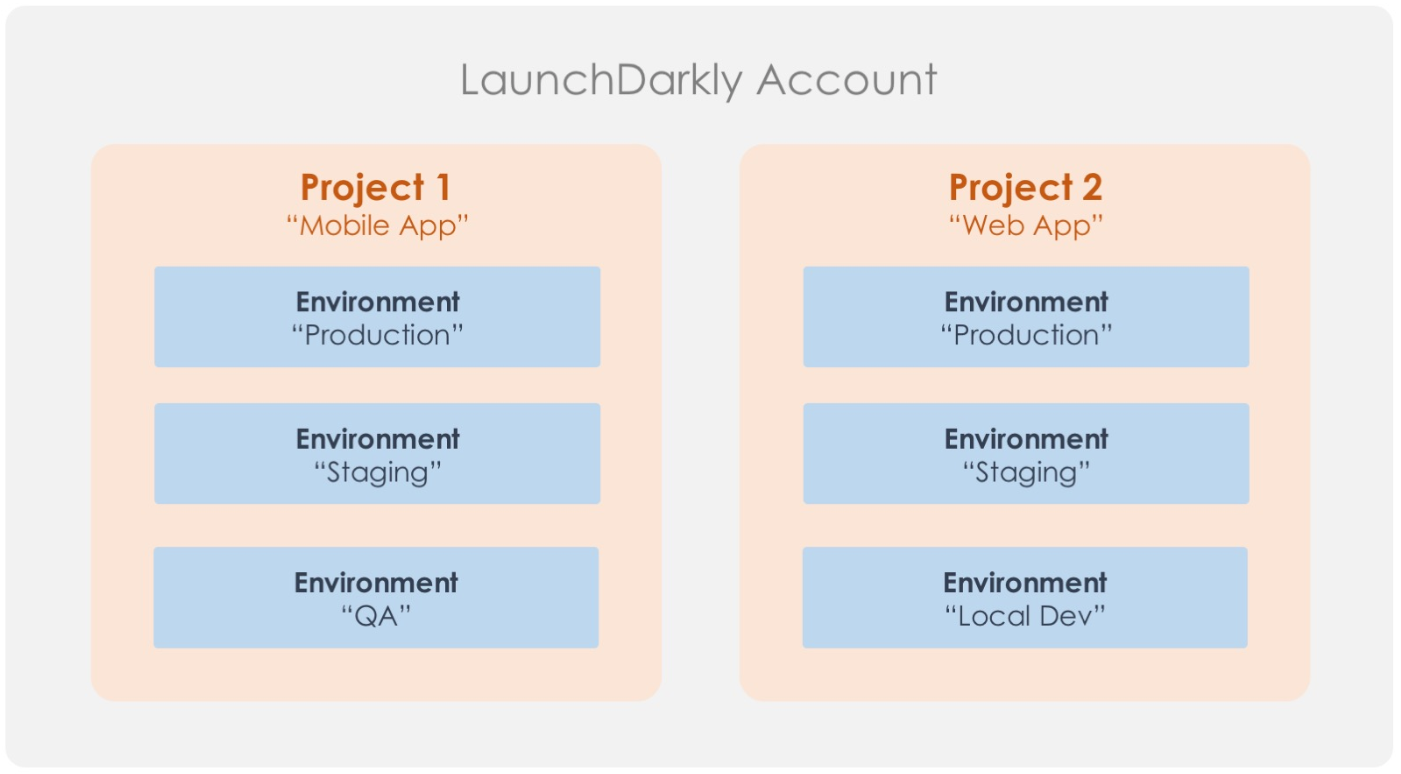
A project is an organizational unit in your LaunchDarkly account. Projects let you manage multiple business objectives from one LaunchDarkly account.
You can define projects in any way you like. A common pattern is to create one project in your LaunchDarkly account for each product your company makes. When you set up a project in this way, you’re sorting your flags into related chunks of functionality based on their impact on end users. This helps you logically organize related flags.
Organization within projects: Environments and views
Many LaunchDarkly resources, such as flags and AgentControl configs, are unique at the project level.
Environments are organizational units contained within a project. They typically correspond to the environments in which your code is deployed, such as development, staging, and production. All environments in a single project contain the same flags. However, the flags can have different states, targets, and rules in each environment. To learn more, read Environments.
Views are another organizational unit contained within a project. A view is a resource that logically groups flags, AgentControl configs, and segments. You can create multiple views within each project. For example, you can use views to group flags according to the teams in your organization and the features they work on. To learn more, read Views.
You can use both environments and views to limit access for your LaunchDarkly account members using roles.
Creating private projects
You can restrict who has access to a project with LaunchDarkly’s custom roles feature. To learn more, read Create private projects with custom roles.
Here is a diagram of two example projects, “Web App” and “Mobile App”:
To view your projects, navigate to the projects list by clicking the gear icon in the left sidebar, then Projects.
Create projects
When you first create your LaunchDarkly account, you start with a Default project, and all account members in your account have access to every project within your account by default. You must always have at least one project.
To create a new project:
- Click the gear icon in the left sidebar to view Organization settings.
- Click Projects.
- Click Create project. The “Create project” dialog appears:

- Give your project a human-readable Name.
- (Optional) Give your project a unique Key. This field populates automatically based on your name, but you can change it now if you wish.
- (Optional) Click + to assign tags to your project.
- Click Create project. The Environments list for the new project appears.
After you create a project, you can edit the project’s settings. To learn more, read Edit projects.
Project limits
Customers on a Foundation or Enterprise plan have access to 300 projects per account by default. If you are on a Foundation or Enterprise plan and need more projects, you can request an increase to your maximum project limit. To learn more, read How to right size when you are over LaunchDarkly system resource count limits.
Customers on a Developer plan have access to only one project and cannot increase that.
You can also use the REST API: Create project
Project keys
Project keys are permanent after you save them
After you save the project key, you cannot modify it. You can change a project’s name, however, whenever you want.
You will need the project key when working with various integrations and SDKs.
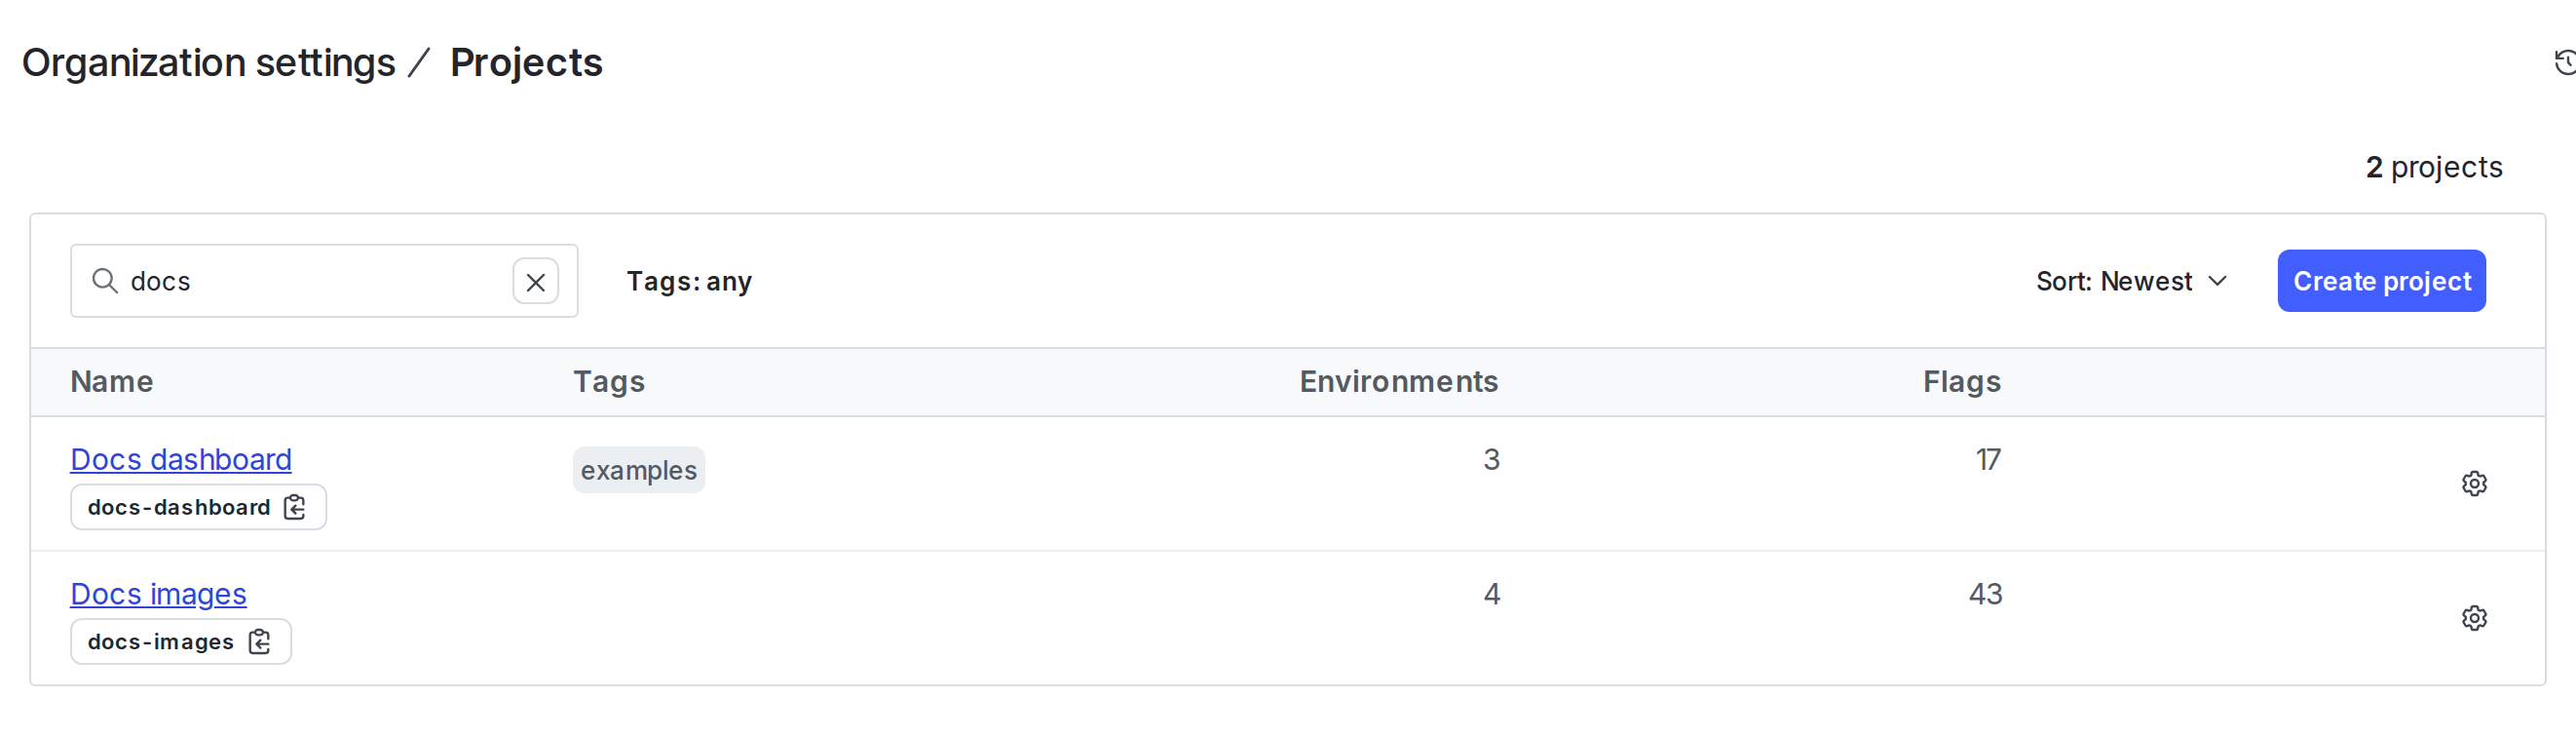
To find a project key:
- Navigate to the projects list under Organization settings.
- Click Projects. The project list appears.
- The project key appears underneath the name of each project. Click on the key to copy it to your clipboard.
Delete projects
You can delete a project when you are no longer using it. Delete with caution, as deleting a project is permanent and also deletes all of the environments and flags within it.
To delete a project:
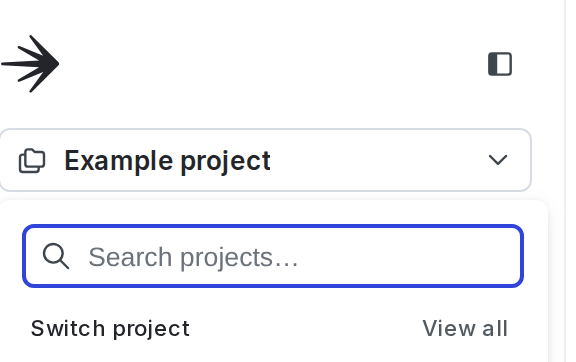
- Click the project dropdown. The project menu appears:
- Select Project settings. The General list appears.
- Click Delete project. A “Delete project?” dialog appears.
- Enter the name or key of your project in the Confirm field.
- Click Delete.
Your project is now deleted.
You can also use the REST API: Delete project