

- Background information on resources, role scope, and role attributes
- How to define role scope using a role attribute
- How to set a role attribute value when you assign a role to a member or team
- Example: Consolidate existing roles using role attributes
Background: Resources, role scope, and role attributes
When you create a new role, you can specify resources that the role can or cannot access in the following ways:| Types of resources a role can access | Example |
|---|---|
| All instances of the resource. | All projects |
| All instances of the resource with a few exceptions. | All projects except “Project A” |
| Only specific instances of the resource, where the instances are named explicitly in the role’s policy statements. | ”Project A,” “Project B,” and “Project C” |
| Only specific instances of the resource, where the instances are linked to a particular view. To learn more, read Use views in complex policy statements. | All flags in a project that are linked to the “frontend” view. |
| Only specific instances of the resource, where the instance properties match a particular value. | All environments that are marked as critical. To learn more, read Property-based selectors. |
| Only specific instances of the resource, where the instances are specified based on a parameter. This parameter is called a role attribute. In this option, you define the role attribute when you create the role, and you specify its value when you assign the role to an account member or team. For example, you can define the role attribute as “developerProjectKeys,” set the value of the role attribute to “Project A” when you assign the role to member A, and then set the value of the role attribute to “Project B” when you assign the role to member B. This option is discussed in more detail in the sections below: Define role scope using attribute key, Set role attribute values. | ”developerProjectKeys” |
role, customRole, and teamKey attributes.
Define role scope using attribute key
To define role scope using a role attribute when you create a new role policy:- From the “New role” page, click Role attributes to open the “Scope using attribute key” section:
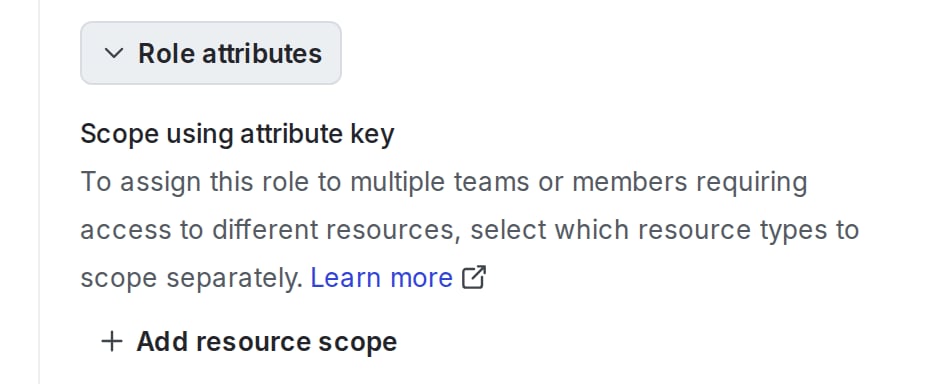
The "Role attributes" section of the "New role" page.
- Click + Add resource scope.
- Select a resource type from the menu, for example, “Project.”
- At the prompt, enter a key for the role attribute:
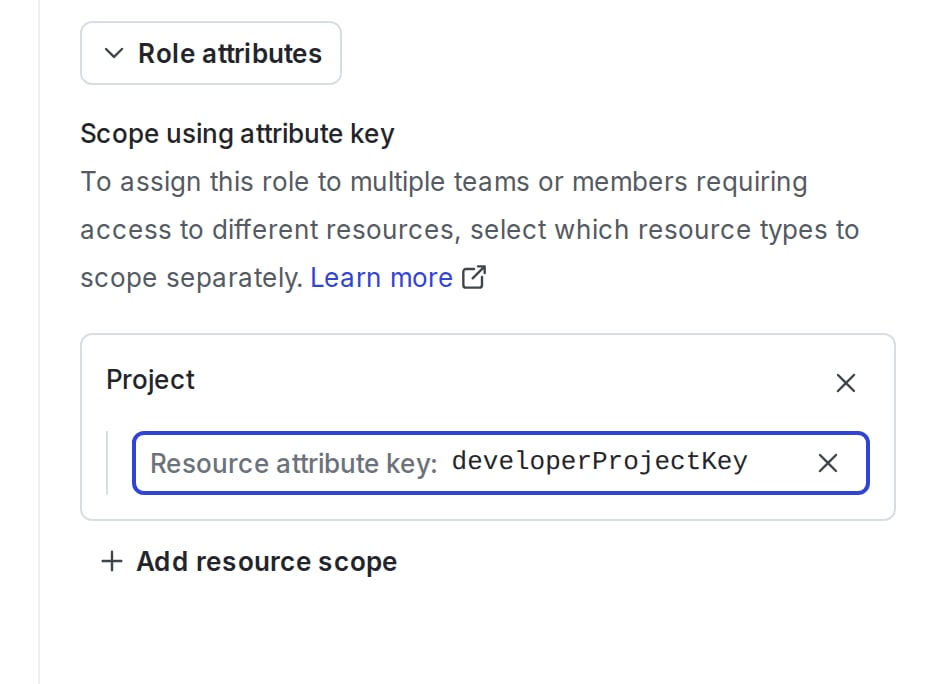
The "developerProjectKeys" defined as a role attribute.
- The role attribute is now a parameter for this role.
- In the role’s policy statements, use the role attribute key any place that you would normally use a specific instance of that resource. For example, if you selected the “Project” resource type in step 3, then you can use the role attribute to allow access only to projects:
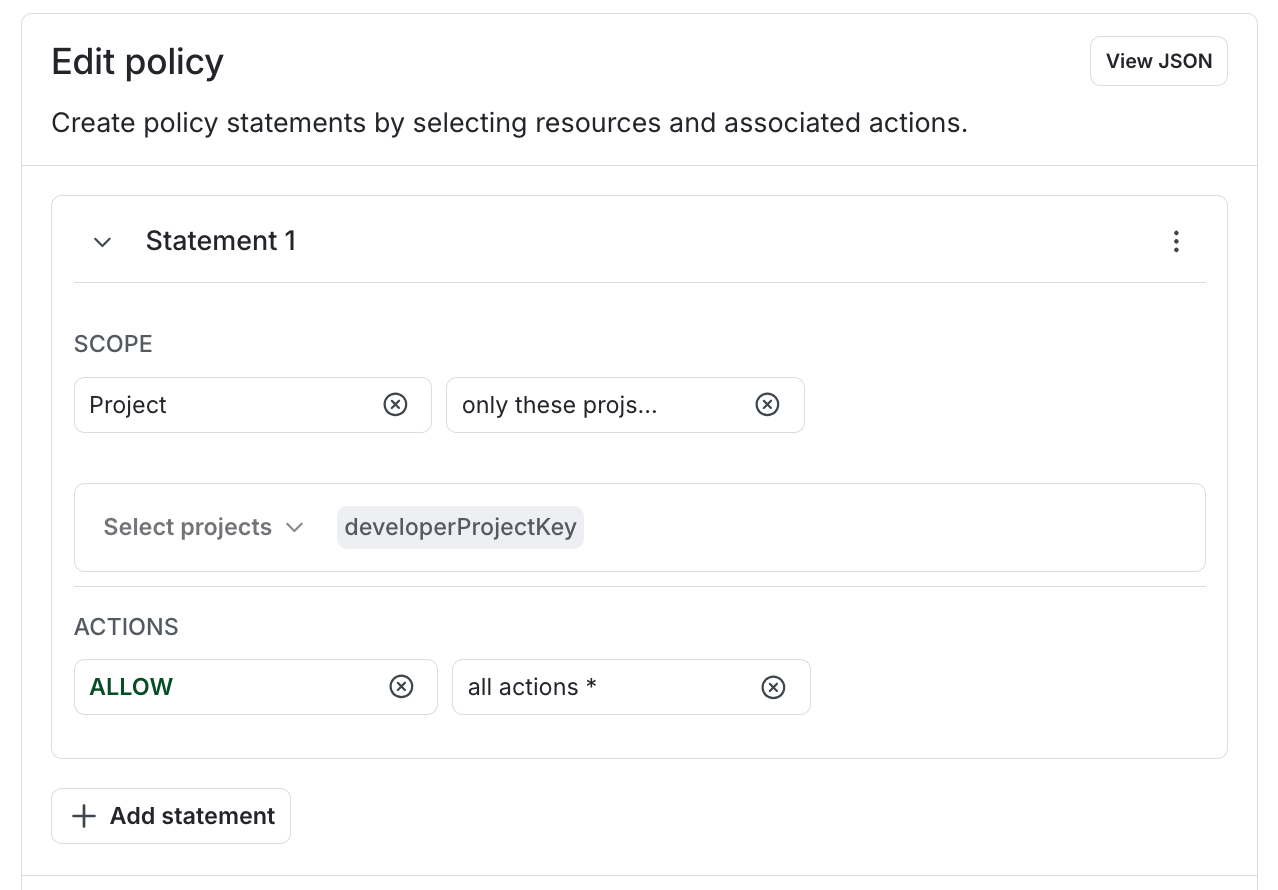
"developerProjectKeys" used in a policy statement.
- Click Create role.
Set role attribute values
You set a role attribute value, or specific resource, when you assign a role to an account member or team. In the “Assign access” dialog, enter the values for the role attribute in the Resources field: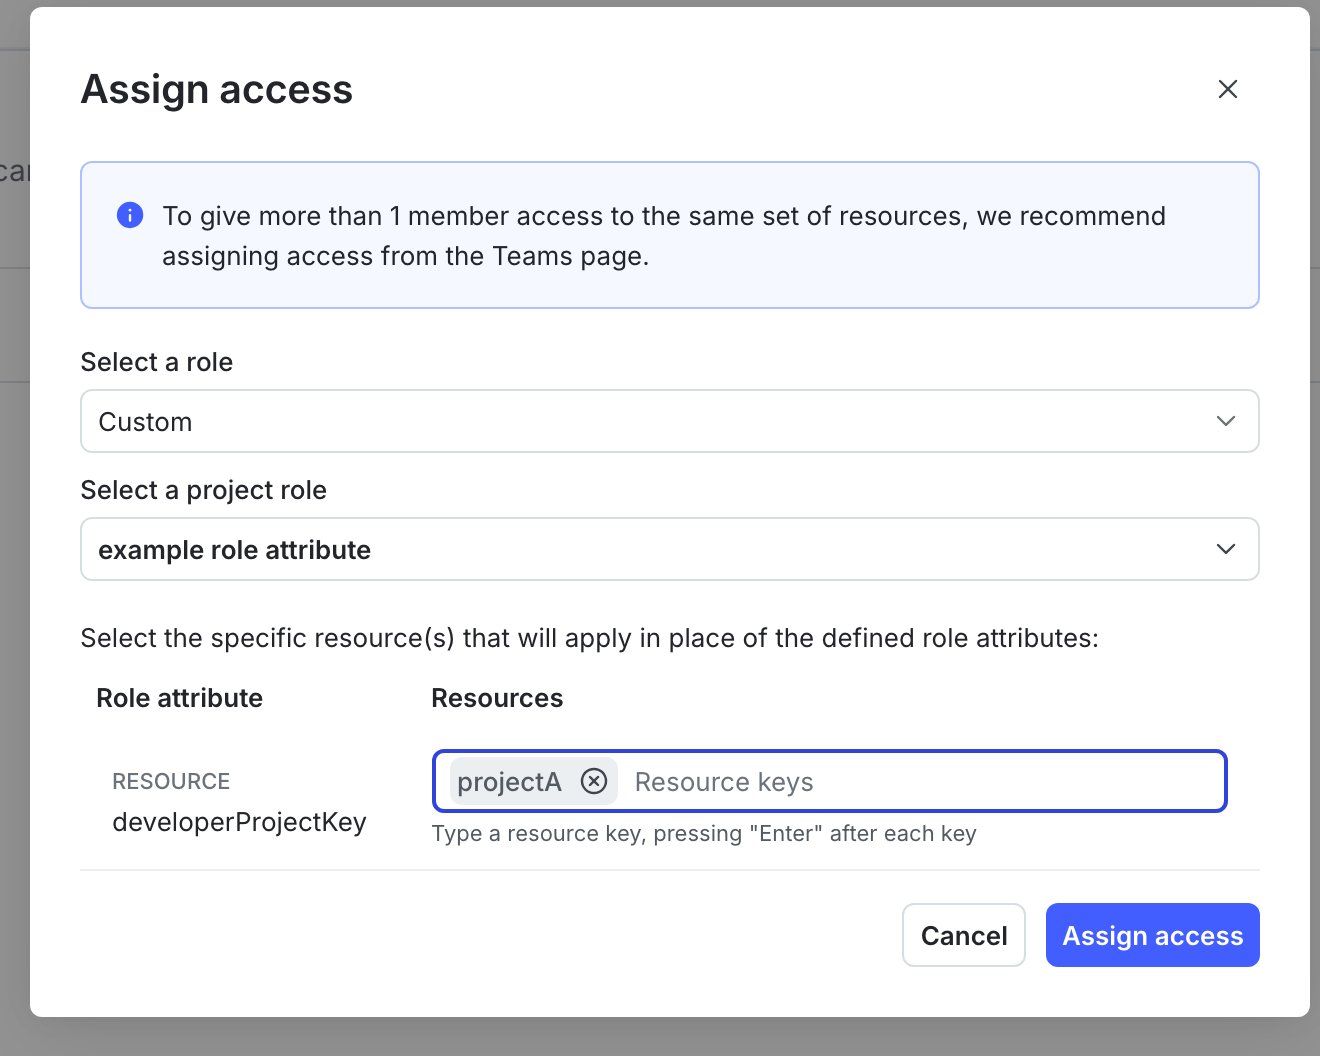
The "Assign access" dialog, with a role attribute and resource specified for the custom role being assigned.
projectA (the project key of “Project A”) when you assign the role to one member, and then set the value of the role attribute to projectB and projectC (the project keys of “Project B” and “Project C”) when you assign the role to a different member.

You can also use the REST API: Custom roles.In the REST API, use the syntax
${roleAttribute/<attributeKey>}, for example ${roleAttribute/developerProjectKeys}, in your policy statements.Example: Consolidate existing roles using role attributes
Without role scope, if you have two members who require a similar set of permissions, but require access to different flags, you need to define two roles, one for each member:flagKey role attribute:
flagKey to the specific flag that that member should have access to.
You can use multiple role attributes in a given role. For example, if you also wanted to parameterize the project, you could use a separate role attribute for that:
- Example: Grant all actions to just one flag while showing only one project
- Example: Restrict actions within production environments
- Example: Allow access to flags, metrics, and segments in one project
Special cases for role scope
For some policy statements, you may need a combination of the advanced editor and the REST API to define a policy that uses role scope or to set role attribute values.Use views in complex policy statements
You can define a role scope for a view when you create a role. The policy builder supports using theviewKey role attribute in a statement with a “view” resource scope. Here’s an example policy:
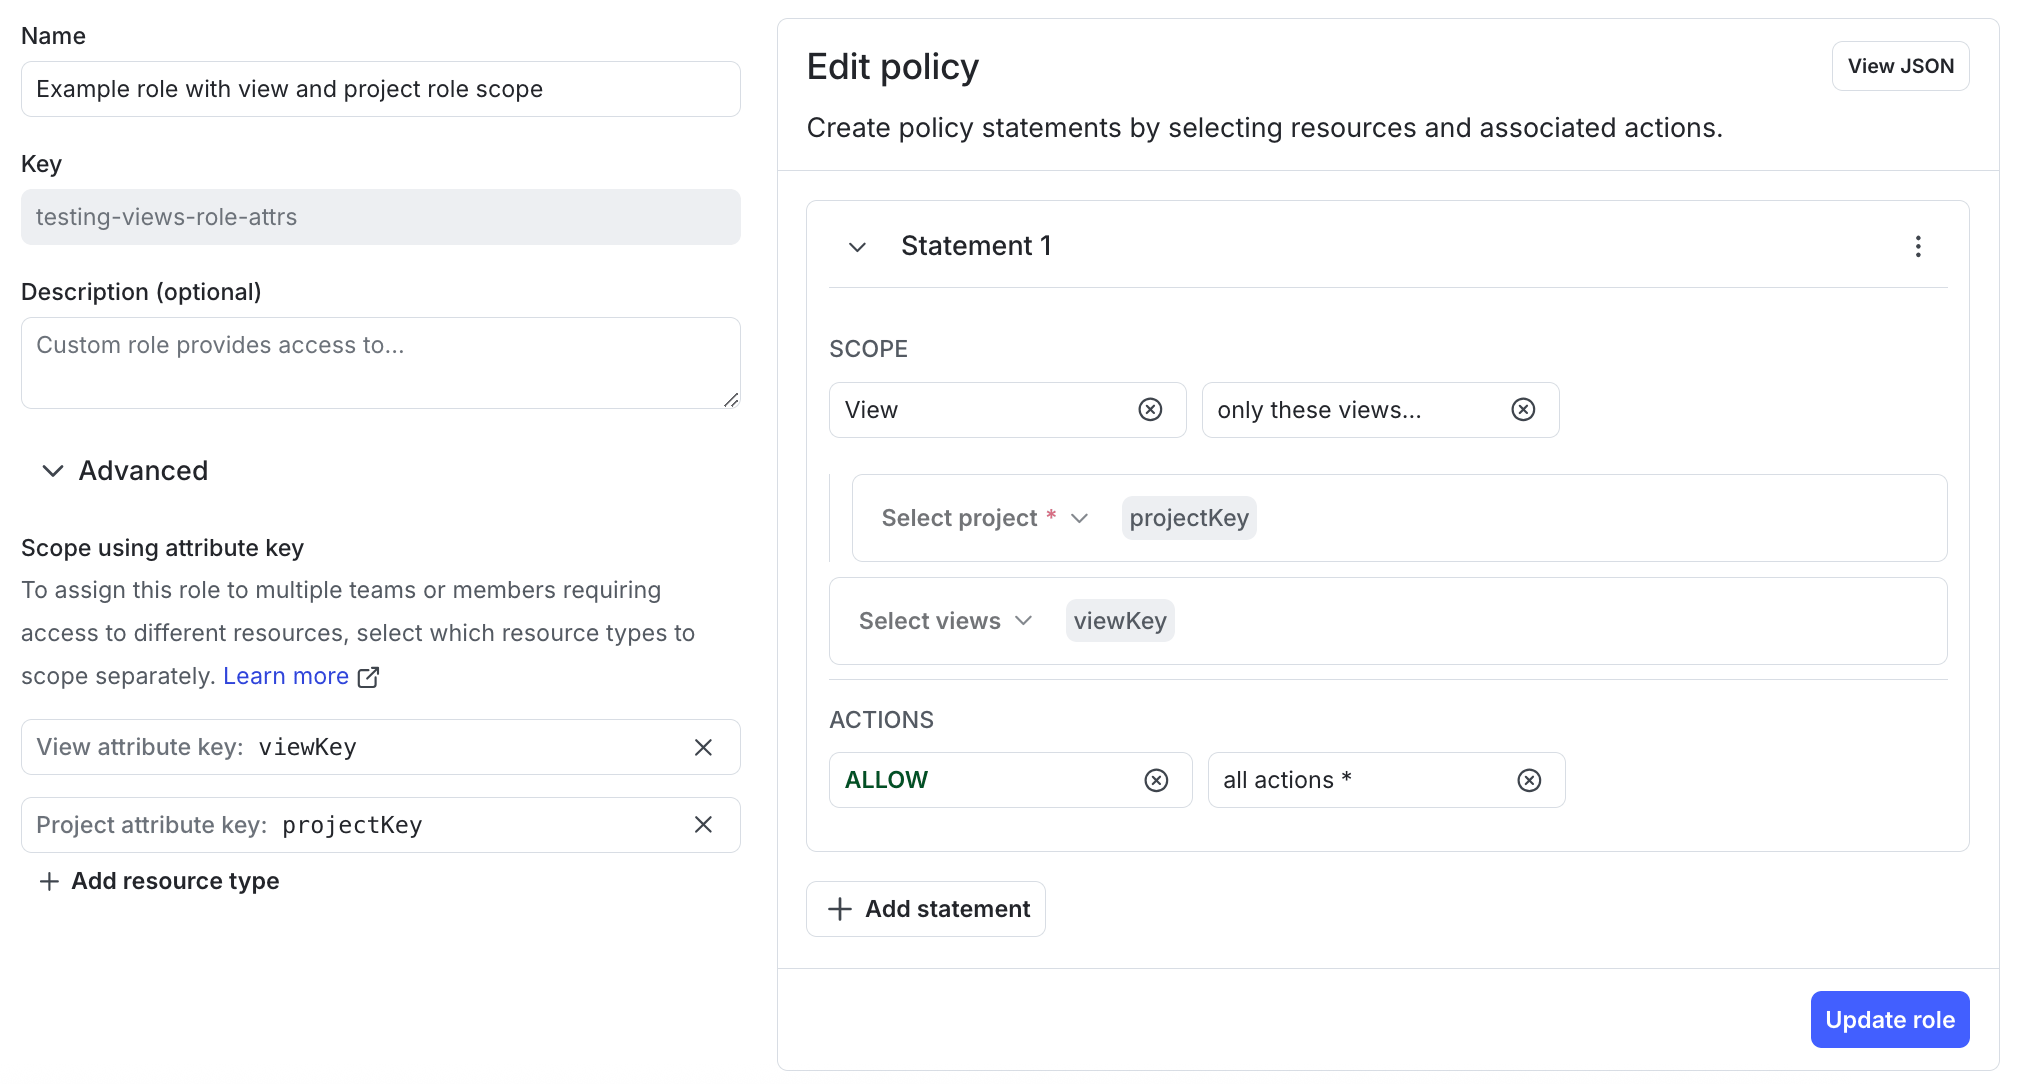
The policy builder, with a statement allowing access to views based on the "viewKey" role attribute.
viewKey in the project specified by projectKey.
In the advanced editor, the statement looks like this:
projectKey, in all environments, provided the flags are linked to the view specified by viewKey.
If the viewKey role attribute is only used in a selector, LaunchDarkly may not prompt you to set its value when you assign this role to a member or team using the LaunchDarkly UI. If this happens, use the Modify an account member REST API to set the value of the role attribute.
Here’s an example request body that gives the viewKey role attribute a value of exampleView for a member:
Flag creation and multiple views
When a member creates a feature flag, they can associate it with multiple views in a single request. AcreateFlag statement scoped to one view does not prevent a member from listing additional views in the same API call. This means that a member may be able to add a flag to a view that they do not have access to, as long as they are also adding it to a view they do have permission to add flags to. Access to the flag after it exists is still governed by your other policy statements.