Quickstart for Experimentation
This topic explains how to get started with LaunchDarkly Experimentation. Follow the instructions below to complete the Experimentation in-app quickstart and create your first experiment.
Try the LaunchDarkly sandbox
You can also use the LaunchDarkly demo sandbox.
Experimentation quickstart
This quickstart takes you through the core actions to create an experiment. In the quickstart example, you’re setting up an A/B test on a button in your app. Half of your audience will receive the current button label, and half of your audience will receive a new button label. The experiment will measure which button copy results in more clicks.
The quickstart pre-populates the following experiment components:
- A feature flag with two variations: one for the current button copy, and one for the new button copy.
- A metric that measures button clicks.
- A hypotheses about which button copy will result in more clicks.
Prerequisites
Before you begin, choose a button in your app to experiment on. This might be a “Checkout” button or some other button that you want to track customer clicks on. Identify where the code for this button is located in your codebase, as you will be making changes to this code in the next section.
Set up the quickstart experiment
To use the in-app quickstart:
- Open the Experimentation section and navigate to the Experiments list.
- Click Try sample experiment, or if it already appears in the Experiments list, open the “Better button copy” experiment.
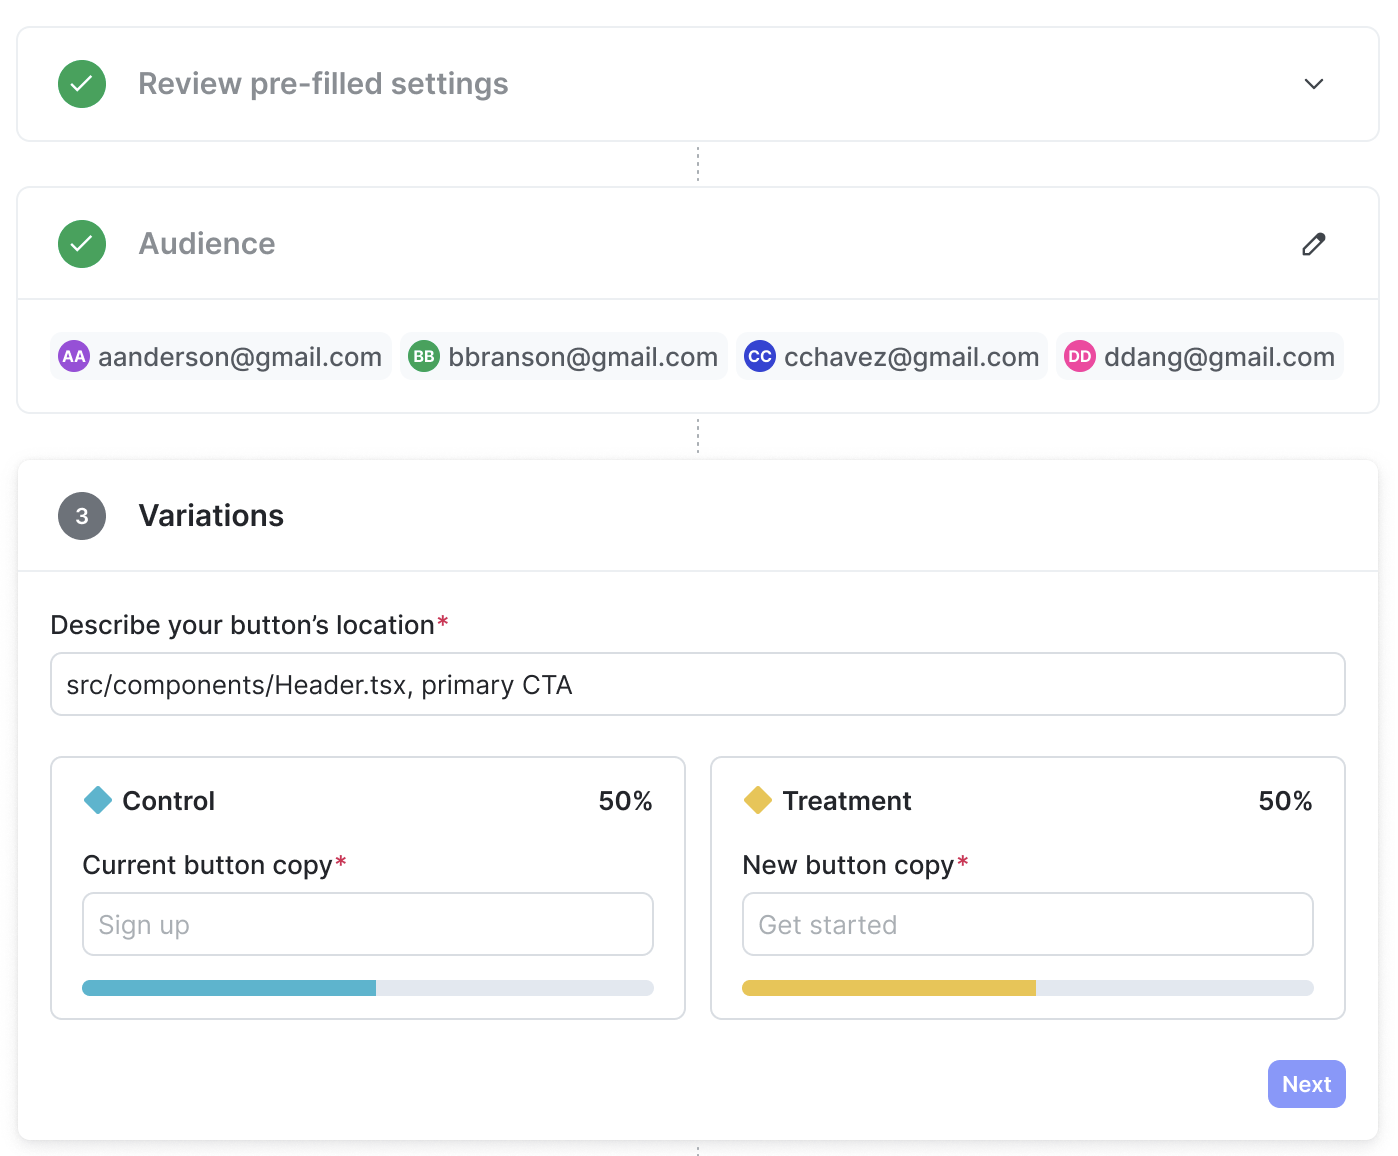
- Review the pre-filled settings and make any updates as needed.
- Click Looks good. The “Audience” section opens.
- Add the email addresses of one or more colleagues that you want to include in the experiment. You need at least two participants, including yourself.
- Click Next. The “Variations” section opens.
- Describe your button’s location in your app.
- Enter button copy for the current variation (the control) and the new variation (the treatment).
- Click Next. The “Launch” section opens.
- Connect your app to LaunchDarkly using an SDK. Select whether to Connect with AI or Connect manually. If you already have an SDK connected, you can skip this step.
- To connect with AI, copy the prompt and paste it into your AI agent.
- To connect manually:
- Select an SDK. The quickstart offers React Web, JavaScript, React Native, iOS, and Android, but you can use any of our available SDKs.
- Copy the Install the package code snippet and paste it into your terminal.
- Copy the Initialize the SDK code snippet and add it to your app.
- Copy the Read the flag and track clicks code snippet, and add it to your app code in place of the existing button.
- Scroll to the top and click Close.
- Click Start.
Your experiment is now running. To try it yourself, open your app and click on the button you are experimenting on. Results will begin to display on the Results tab.
Next steps
If you want to expand the experiment to include more people, you can update the flag’s targeting on its targeting tab. You can add more individual targets, or you can add a custom targeting rule. For example, you could include everyone in your organization in the experiment by targeting everyone that has an email address ending in @yourcompany.com.
Further reading
Here are further resources to learn about LaunchDarkly Experimentation: